One-stop large format printer parts supplier Printer manufacturer's OEM partner


 January 23,2026
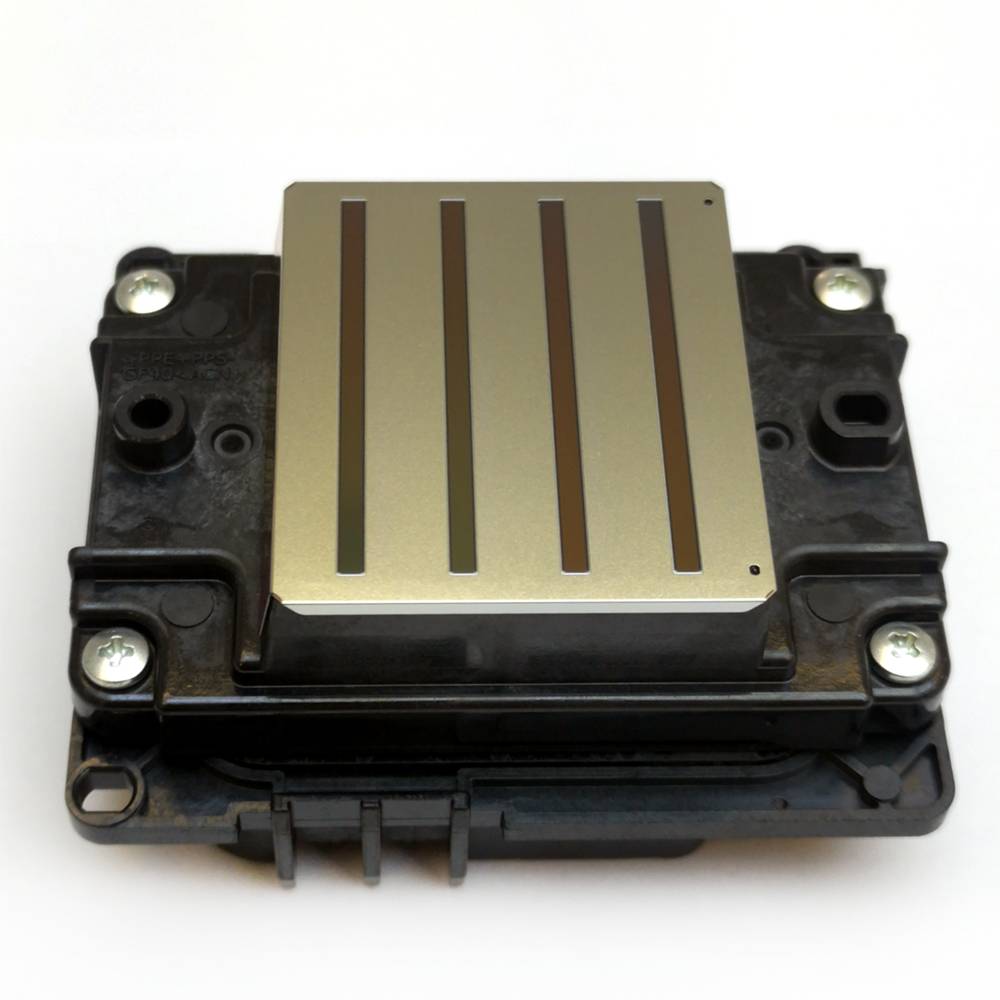
It doesn't matter if you bought a Konica1024/14MNB print head, Epson print head, or Seiko print head. When you receive the package, make sure that the sprinkler product you are buying is brand new. To test the print head, we take the Epson DX7 golden Print head as an example. Proceed as follows:
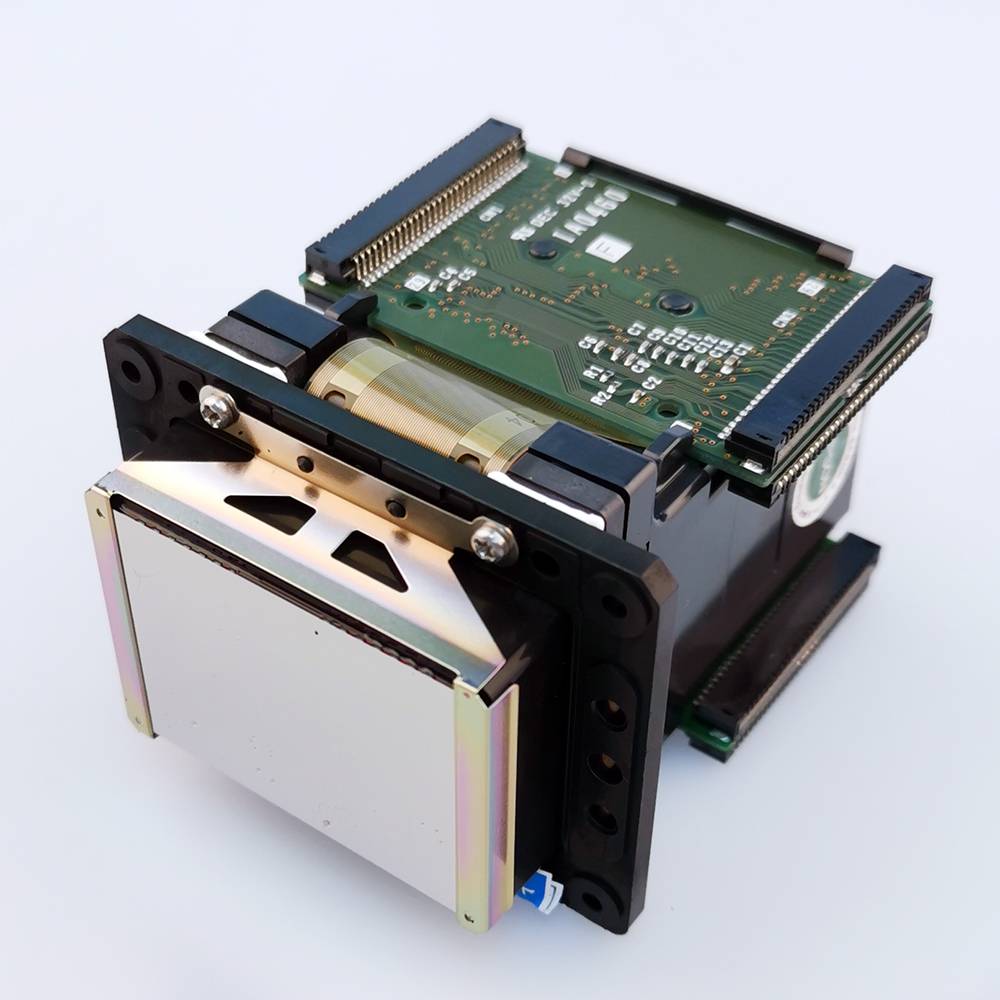
1.Be careful when installing the print head, be sure to cut off the power first and install it in place. After installation, gently push the trolley to move left and right with your hand to check whether it is smooth or not. Do not turn on the power after installation, because if the head is not in place, the trolley will easily hit the head and shatter, and the human hand can feel it, and it can be retracted freely.
2.The most important thing to note is that the head of the print head is very fragile and must not be knocked. Because its outer layer is aluminum, its inner layer is coated with a crystal oscillator and very small ink tubes. Once touched, it will be concave, deformed, or even broken. Once deformed or broken, the print head will be scrapped. Be aware that the cost of the print head is very expensive, because it is not necessary to cause damage to this kind of thing.
3.Because there will be air in the newly installed print head, it will not print normally immediately. Only after the air in the head is completely exhausted, can the lines be properly aligned; the specific steps are as follows: First, intermittent cleaning (clean only 2 times at a time, Then stop for 30 minutes and then clean 2 times) Repeatedly over-cleaning will cause the cleaning pump to accumulate ink, which will not only cause color mixing, ink leakage, but also waste ink; secondly, you can print more pictures to let the print heads work Exhaust air; again, if the machine has led out the waste ink tube, you can cut off the power first, and then use a syringe to cover the rubber tube to extract the waste ink tube until 3-5ML of ink is drawn out, then turn on the machine and clean it normally with the machine Once,this is equivalent to artificially pulling out the air in the head, and the side effect is that it is easy to cause the cleaning pump to accumulate ink.
4.Before we test the print head, do not use a needle to inject water to test the print head to see if the print head is blocked. This is a very redundant and dangerous practice. First of all, once the sprinkler gets into the water, if you turn on the machine before it is dry, it will burn the board, and the head will burn; not only washes away the protective liquid in the head, but also because the pressure of the hand is too high, it is easy to cause the air blockage of the print head, resulting in no ink.
5.When checking the water circuit, firstly check that the amount of water in the ink cartridge is insufficient; secondly, check whether the small cleaning blade and the ink suction pump are dirty;
6.When connecting the plug cable, do not bring ink, and make sure that it is in good contact with the socket and does not touch the feet, otherwise, the print head will be short-circuited and burned.
7.The steel shaft should also be clean and smooth. It can be wiped with Dust-free cloth 9*9 towel with some lubricating oil, but do not add oil directly to the shaft, because excess oil will flow to the print head.


With 20-year experience in printer parts, Johope has been a professional supplier of original print heads (printheads) and manufacturer of printer ink supply parts, including sub tanks, dampers, filters, ink tubes, which are OEM optional.