One-stop large format printer parts supplier Printer manufacturer's OEM partner


 January 23,2026
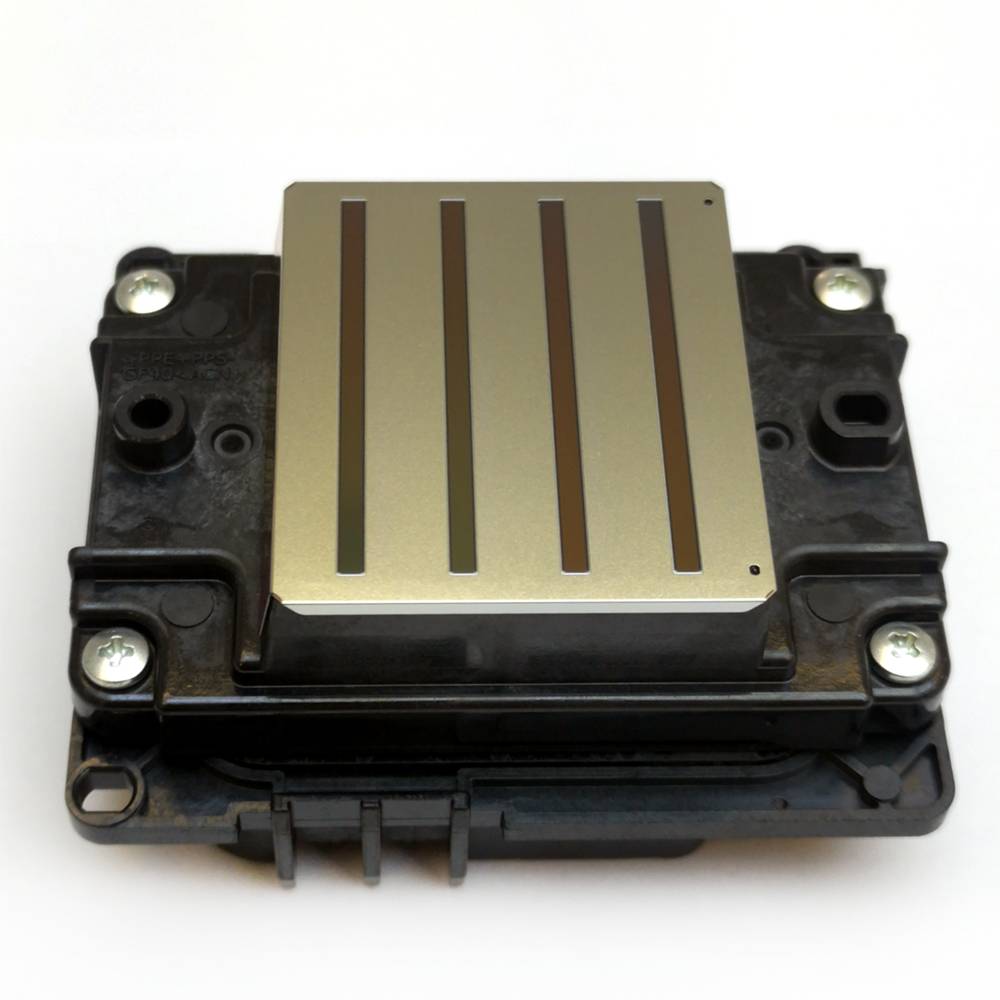
The printhead is a printer component that helps transfer ink onto the page. It does this by firing tiny droplets of ink via numerous printer nozzles to create a desired print. When one of these nozzles gets clogged your prints appear faded or streaky.
Printheads can either be a part of the printer cartridge or built into the printer – it all depends on which printer you own.
Printheads clog periodically as small amounts of ink or dust dry up and collect in the nozzle. Faint, streaky or spotty prints are all common signs of a clog but a simple cleaning can usually get your ink cartridges working again. Printheads clog due to infrequent cartridge use. If you regularly go a few weeks without printing, your cartridges will eventually dry out and need to be replaced. Cleaning the printhead can prolong your cartridge life and hopefully delay that replacement cartridge purchase! In this guide we’ll explain how printheads work and show you the best way to keep them clean.
The easiest way to resolve your print quality issue is by running a cleaning on your printer. The cleaning function is included in the software of every printer model and is usually found under the “printer maintenance” section of your printer’s display menu. Consult your printer manual for specific instructions for you machine.
Printhead cleanings can take about 1 or 2 minutes and they do use some ink to run through the cleaning process. Once complete, print out a test page to compare print quality. If the print results look good, you can continue printing. If the colors are not up to par, you may have to run the printhead cleaning function 2-4 more times before print quality is reestablished. If you still aren’t getting quality prints after a few cleanings, move on to our manual cleaning instructions. You don’t want to run the cleaning function too often because it will deplete the ink in your cartridges.
Before we continue, you need to know that some inkjet printers come with a built-in printhead separate from the ink cartridges, and there are also some inkjet printers with printheads built into the individual ink cartridges.
Manually cleaning a printhead that is built in to your printer takes a bit more work.The steps below are for printers that have a removable printhead, like the OfficeJet 8710.
You can also uses this method on non- printers with printheads built into the printer.
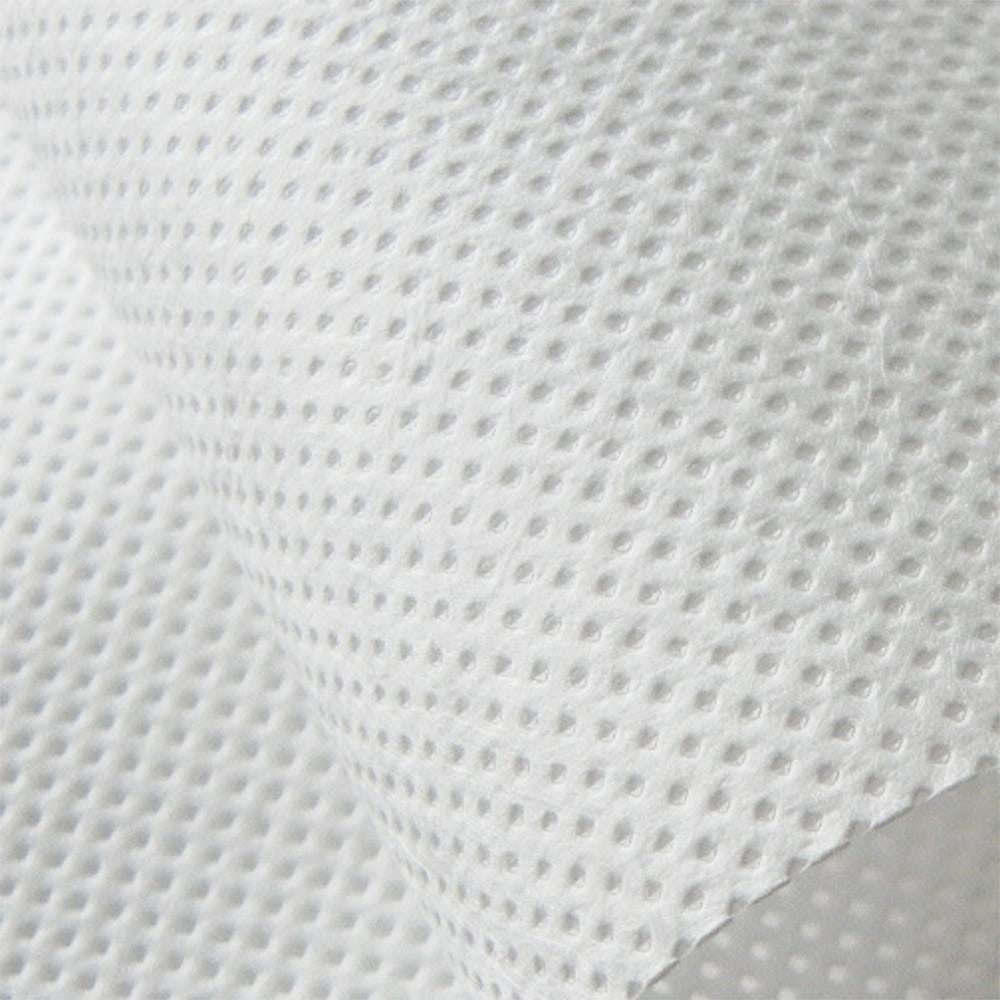
Required supplies: a plastic container,a few dust-free cloths ,filtered or distilled hot water.(If you are troubled because there is no dust-free product, click on the picture below to buy it.)

If your printer uses cartridges with an integrated printhead, you can try the “paper towel method”to resolve your print quality issue.
Required supplies: A warm, damp paper towel and a dry paper towel
Now that you know how to clean the printhead, you have all the tools you need to keep your ink cartridges in top condition. If you still have print quality problems after trying these cleaning steps, you may need to replace the printhead. For printers with integrated ink cartridges, this means purchasing new printer ink cartridges. If necessary, click "here" to go to our homepage to select the printer nozzle you need. If you have any questions about cleaning the print head, please feel free to leave us a message in the comments.


With 20-year experience in printer parts, Johope has been a professional supplier of original print heads (printheads) and manufacturer of printer ink supply parts, including sub tanks, dampers, filters, ink tubes, which are OEM optional.