One-stop large format printer parts supplier Printer manufacturer's OEM partner


 January 23,2026
Nowadays, with the development of economy and technology, people pay much attention to the efficiency of work. However, in order to improve work efficiency, people often use printers to replace manual work. There are many types of printers, such as UV printers, digital printing machines, photo printers, and inkjet printers. There will be a lot of waste ink in the process of use. We need to deal with the waste ink and clear the waste ink. Now let's discuss:
What is waste ink zeroing?
1. Waste ink zeroing means that the waste ink generated by the printer cleaning the print head will flow into the sponge pad at the bottom of the printer. The electronic device of the printer will record each time the print head is cleaned. When the number of times reaches a certain value, it will be terminated. Work, the driver will remind you to send the machine for maintenance, the real purpose is to make you pay a sum of money, the repair station will help you replace the sponge pad and clear the relevant records of the printer, but the repair station generally does not replace the sponge pad and directly Clear the count to zero, because the waste ink in the sponge pad usually evaporates naturally over time, and generally will not be full, unless a large-capacity continuous ink supply system fails, and hundreds of milliliters of ink are poured back
2. The ink cartridge clearing refers to the chip of the ink cartridge to estimate the amount of ink in the ink cartridge. Every time the nozzle is cleaned or printed, the count of the ink cartridge chip will be reduced accordingly. When this value is reset to zero, the printer will Report the lack of ink and warn or terminate the work, even if adding ink is not necessarily useful, it is necessary to do a step to clear the ink cartridge chip, so that the printer thinks that the ink cartridge is full again.
How to solve it?
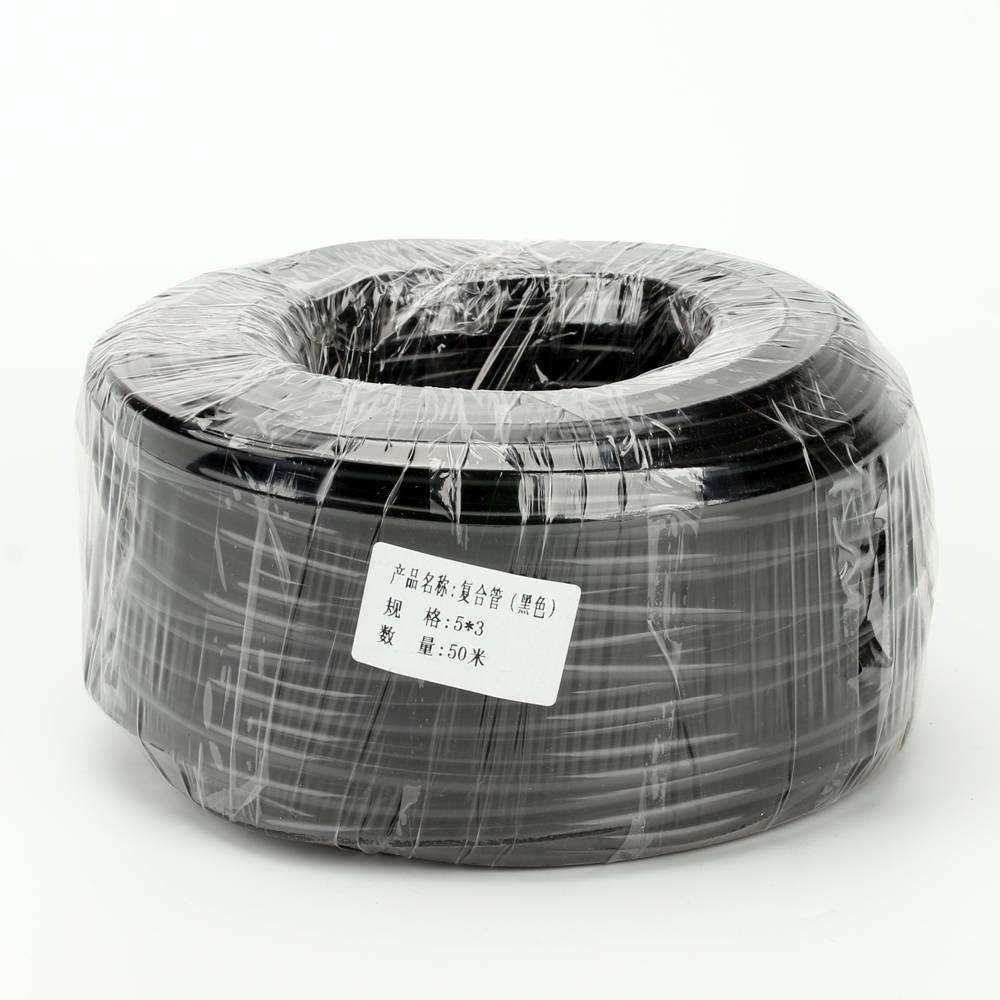
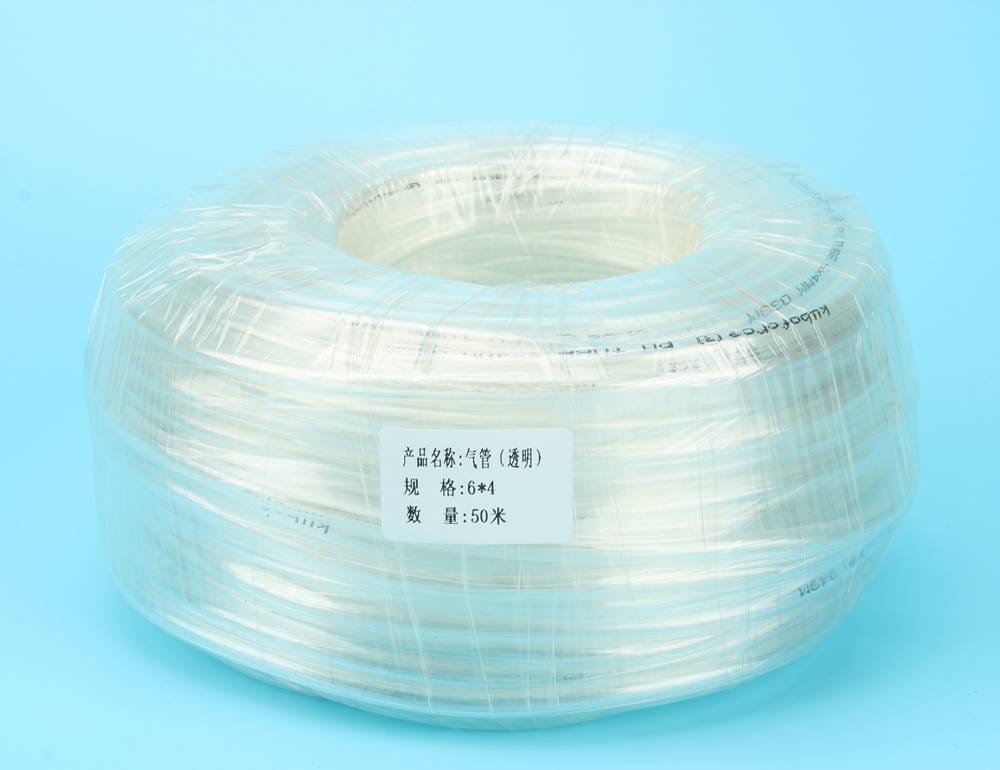
First: Manually clean up the waste ink: preparations, waste ink pipe line (preferably a waste line for continuous supply), tape, cross knife and a bottle for collecting waste ink.
2. Remove the ink cart. After the printer is powered on, press the "Replace Cartridge" button, the ink cart will move out, and unplug the power cord.
3. Take out the screws on the back side of the right casing of the printer.
4. Remove the right casing. Press the seam of the side case of the printer with your hand, press the right thumb down and the left thumb nail to hook up, and push the case back to remove the right case. You can also use a flat knife to open the shell buckle and push the shell back.
5. Extend the waste ink tube. After removing the side shell, you can see the waste ink tube. Pull out the waste ink tube and connect the prepared waste ink tube and wrap the connection with tape.
6. The waste ink pipeline leads out the waste ink tube of the printer and the entire position where the waste ink tube is led out and inserted into the waste ink bottle should generally not be higher than the nozzle inside the printer, so as to prevent waste ink from being poured back. If the outer casing of the printer is not damaged, the connected waste ink line can be passed from the inside of the printer through the right side of the support board, and then the line is wound from the right side of the printer to the back of the printer.
7. Insert the waste ink line into the waste ink bottle. Use tape to stick the waste ink tube that goes out of the printer to the casing, and finally insert it into the prepared waste ink bottle, and then fix the waste ink bottle. Generally, the height of the entire position where the waste ink tube is drawn out and inserted into the waste ink bottle should not be higher than the nozzle inside the printer, so as to avoid backfilling of waste ink.
The second step: the software waste ink needs to be cleared; the second step: the software waste ink needs to be cleared;
Open the software, select Accept, select the printer, and select Perticular adjustment mode.
When finished, turn the printer off and on again. OK Clearing is complete.


With 20-year experience in printer parts, Johope has been a professional supplier of original print heads (printheads) and manufacturer of printer ink supply parts, including sub tanks, dampers, filters, ink tubes, which are OEM optional.