One-stop large format printer parts supplier Printer manufacturer's OEM partner


 January 23,2026
Newly bought inkjet printer, in the first few days of the printing effect is still satisfactory, but the good times did not last long, after dozens of pages of documents after the black ink cartridges emergency, the replacement of "easy ink" appeared printing dislocation, lines can not be aligned:
It was initially suspected that the problem was the print head alignment, so various parameters were adjusted, and the problem was finally solved to a certain extent
Perform the print head automatic alignment program
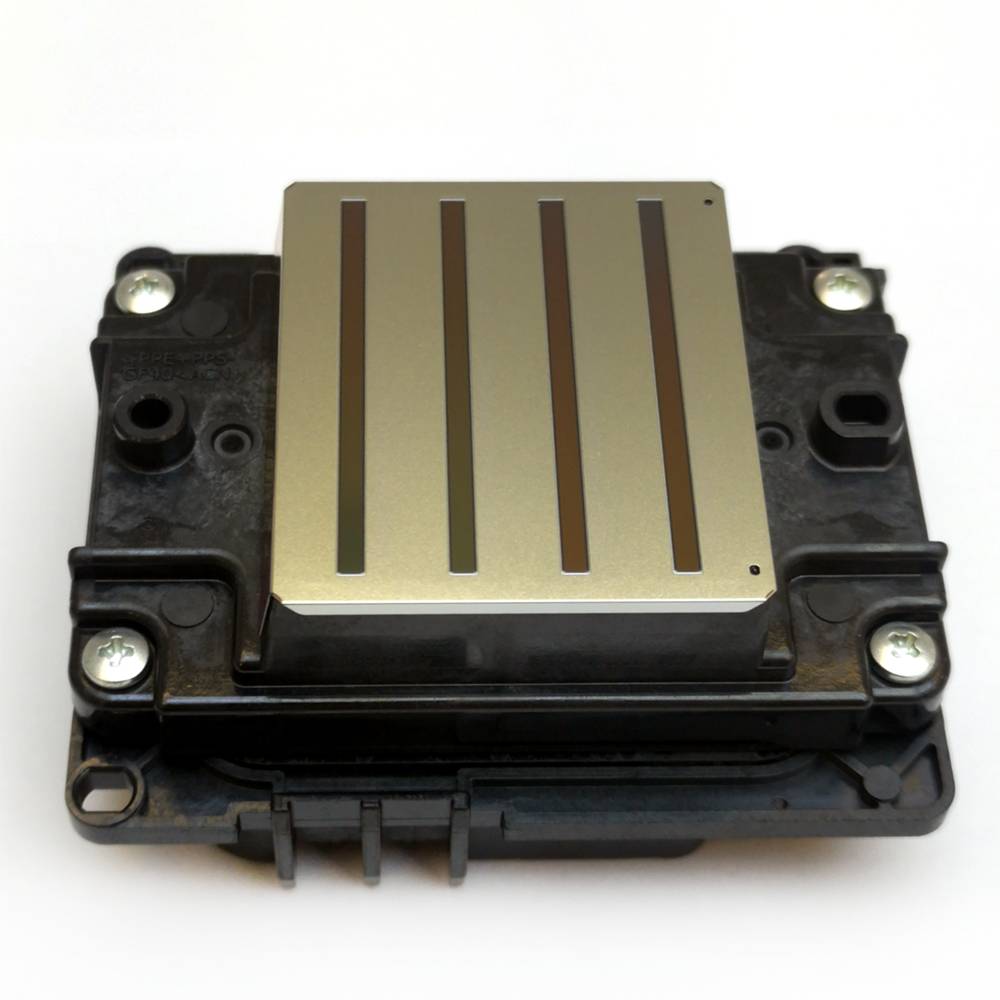
Whether it is the original cartridge or the non-original cartridge, as long as there is a printing dislocation phenomenon, most of it is caused by the abnormal position of the print head, and the print head position can be calibrated through the alignment program of the printer.
If it is a print-scan integrated machine with integrated scanning function, you can also align the print head position with the automatic alignment function. The specific steps are described as follows:
Click the "Start" menu, find the "Equipment and Printer" menu through the right menu or control panel and click to enter, select the printer to operate in the pop-up list, right-click on the printer icon, click the "Preferences" menu, select the "Maintenance" tab in the pop-up window, and then click and run the "print head alignment" function.
After executing the "print head alignment" instruction, if it is a printer with scanning function, will print a test page by default, and then prompt the test page on the scanning panel (note the alignment arrow), press the start button on the printer, wait for the program to automatically execute the print head alignment function (the window will automatically close after the execution).
Manual alignment
Although the print head automatic alignment program is convenient, it is sometimes not easy to use because of the limitation of the program recognition. Then it is necessary to perform the manual print header alignment procedure.
To perform a manual print header alignment program, you need to change the printer default settings. The specific steps are basically the same as the above automatic alignment program, but instead of directly run the "print head alignment" function under the "Maintenance" tab, first run the "User Custom Settings", remove the automatic alignment option checked by default, and then perform the "print head alignment function".
The manual print head alignment function is slightly more complicated than the automatic alignment process, but there are operation reminders throughout the whole process. Only one thing puzzles us: how to choose better quality color blocks with the naked eye?
It's not hard, here's a rule: find the most symmetrical color blocks. The selected color blocks are all the relatively high quality printing results in each column.
High quality printing
After the manual print head alignment program is completed, the misalignment phenomenon may still not be completely eliminated. Personally, I think it may be related to the touch of the nozzle when replacing the ink cartridges (please try not to touch the nozzle when replacing the ink cartridges), or Canon may have tried to restrict the use of third-party consumables.
Either way, when we perform the print head alignment operation, if the misalignment phenomenon still exists, we can also try to correct it by "high-quality printing".
The tions for high quality printing can be selected while printing. But there is one drawback: high-quality printing is slower.
The problem is basically solved, but it is still not perfect
When the inkjet printer appears printing dislocation phenomenon, although we can correct the problem with the "print head alignment" function and the "high quality printing" option, we still may not solve the problem perfectly.
The printing dislocation phenomenon may be related to the operation of replacing the third-party ink cartridges, but it is generally not the failure of the printer itself. After the replacement of the original ink cartridges, the problem will be perfectly solved perfectly.


With 20-year experience in printer parts, Johope has been a professional supplier of original print heads (printheads) and manufacturer of printer ink supply parts, including sub tanks, dampers, filters, ink tubes, which are OEM optional.