One-stop large format printer parts supplier Printer manufacturer's OEM partner


 January 23,2026
With the rapid development of social economy and science and technology, the use of printers has been throughout every corner of our life, people have a busy schedule, but the printer is also so, he also need to complete a lot of homework every day. At the same time, the frequency of printing plays a crucial role in the function of the printer cartridge. Those who print a lot usually don't experience any problems with performance. For those of you who print sparingly and for a long time, you may have noticed that the printed page may be faded, streaked, or even blank.

1. So what causes these problems?
2. What is one of the main causes of this problem?
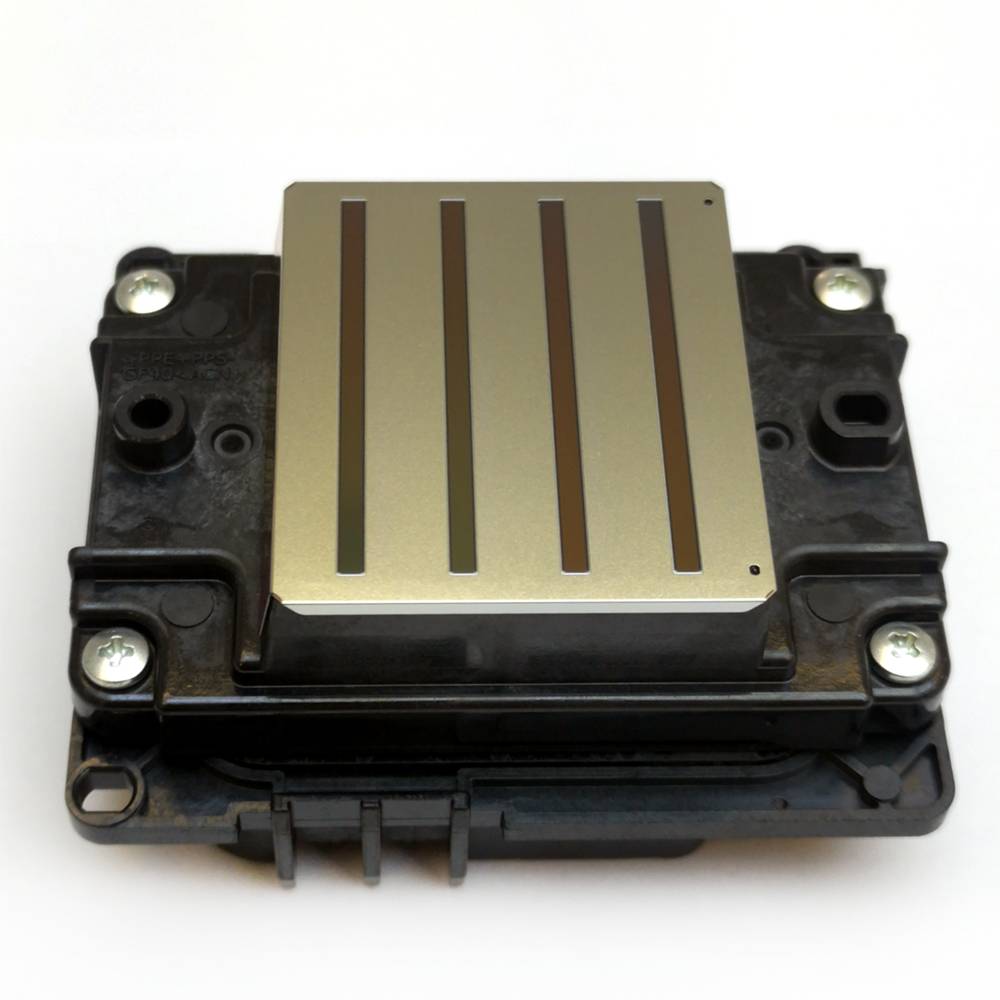
Cause: The print head is blocked
Clogged print heads are caused by dry ink settling and blocking the flow inside the cartridge. This can lead to less than stellar performance and should be fixed immediately.
This is by no means a big problem; You don't need to fix your printer or even buy a new cartridge.
In fact, more often than not, this can be remedied by a simple solution called cleaning the print head.
So what is a clean print head?
Print head cleaning literally removes excess ink from the cartridge or print head to improve flow.
Print head cleaning is often better than skin maintenance. When you don't take care of your skin for a long time, you can end up with oily faces, blackheads, and unsmooth skin, which can make you look bad. The same goes for your printer, as routine maintenance is a must to keep it functioning to its full potential.
There are several ways to clean your print head. Depending on the severity of the blockage, you can fix it with the click of a button and the printer automatically cleans the print head.
This method is by far the easiest way to clear clogged print heads. If your print head is only slightly clogged, you can boot up and print in seconds. Let's talk about daily printer maintenance cycles.
Every time you turn on the Epson printer, or any printer associated with it, a maintenance cycle is started. This process removes any dry printer ink or residue from your cartridge nozzle and allows the ink flow in your printer to go barrier-free. This process quickly ejects fresh ink from the cartridge into the interior and out of the print head, thereby loosening any clogged or blocked nozzles.
You can do print head cleaning in the driver's Settings menu, and sometimes even directly on the printer's control panel.
Most Epson printers head follow a very similar approach to these maintenance cleanings; Here we highlight some of the most common steps:
Method 1: Use the Epson Solution Center
1. Open the Epson Solution Center from the desktop.
2. Click the Setup button.
3. Select the printer toolbox.
4. Click the Device Services TAB and select Clear Printhead.
5. To begin the cleaning process, click the cleaning option and follow the steps to complete the process. When complete, the printer will provide you with a test page.
Method 2: Through the control panel
Note: This option is not available on all Epson printers.
1. Make sure you have usable paper in your printer.
2. Press and hold the power button (you must press and hold the power button continuously when performing the following steps).
3. Press the Cancel button twice, and then press the Restore button once.
4. Release the power button.
This will set up a maintenance clean that will hopefully remove any blocking ink from your print head. After that, your Epson will automatically print a test page.
Clean the print head manually
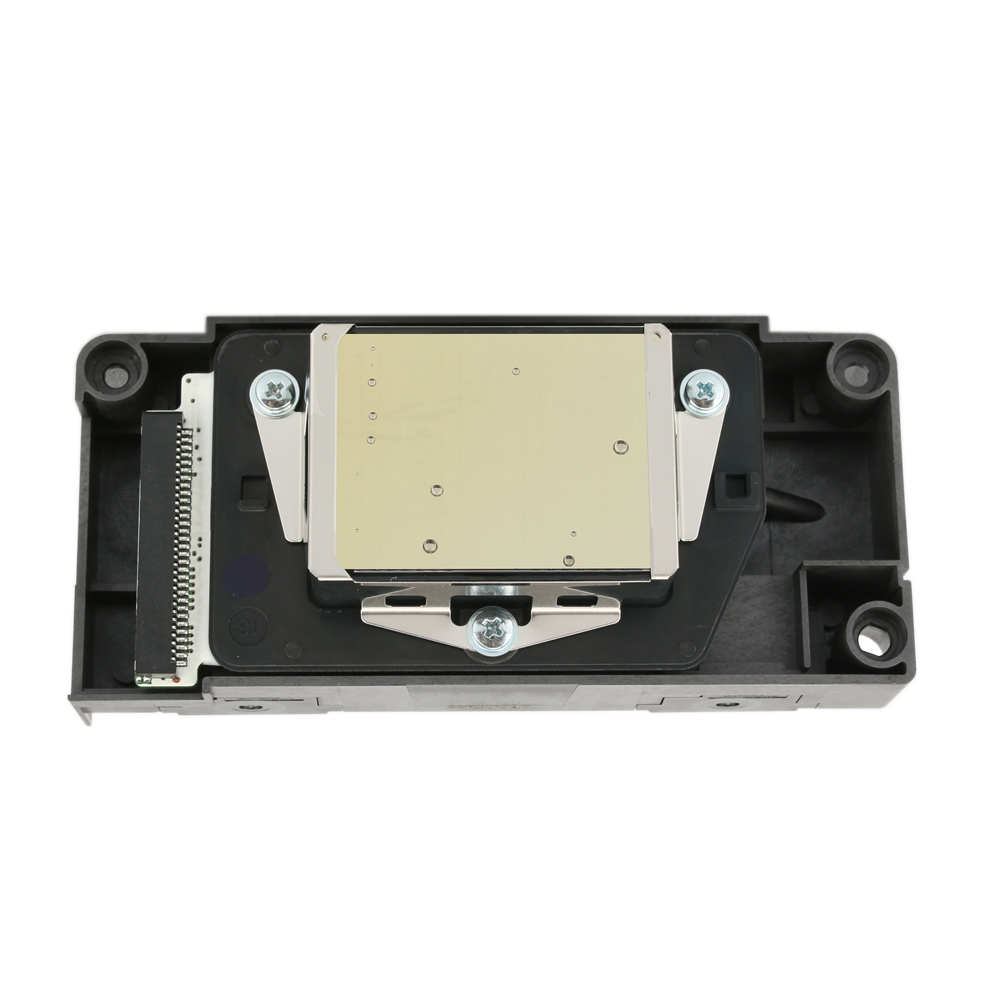
Method 1: Apply with a dust-free cloth
This is usually the most common method we recommend to our clients. This is a simple, fast, and usually the least disruptive process for your print head. Most print heads are located directly on the cartridge. Simply unmount the cartridge from the printer. Make sure one area is covered with a dust-free cloth in case it gets a bit messy. Take a dust-free cloth and gently apply it to the nozzle of the print head and wipe it clean. When it comes into contact with water, you can clearly see the ink breaking down and turning into a liquid. Thicker patches of ink will begin to peel off when wiped. Once the cartridge is completely unmasked and dry, you can install it back into your printer.
Method 2: Soak
This approach is a bit extreme and should only be used when absolutely necessary. For those cartridges with thicker clogs, you may need to soak them in solution to loosen the ink. First, you need to make a solution of 50% water and 50% isopropyl alcohol; This creates a solvent that breaks down those pesky dry blobs of ink. Place the cartridge on a paper plate with the print head down. Apply the solution to the paper plate until your print head is completely submerged in water. Note that you should only submerge the print head while the rest of the cartridge is completely dry. Wait about 24 hours, then remove the cartridge from the solution. Dab the print head with a paper towel, and when it's completely dry, you can put it back inside the printer.
conclusion
Remember to regularly clear the printer nozzle oh!
If you want to know more about the printer nozzle, you can click here! https://www.jiahaotech.com/product/


With 20-year experience in printer parts, Johope has been a professional supplier of original print heads (printheads) and manufacturer of printer ink supply parts, including sub tanks, dampers, filters, ink tubes, which are OEM optional.